Creating a Standard Library Project
Important
The following steps assume you have a Architect Loader Spreadsheet (ALS) containing a Global Library Draft downloaded from Rave Architect.
At this point we could set up key information from the Rave Core Configuration but if you have a Standard Library which contains references to EDC Roles, Marking Groups and Review Groups (for example, in Form or Field View / Entry Restrictions and Review Groups) then there is a faster way to set these up using Diagnostics 0018, 0019 and 0021 which automatically create these entries in the URL Configuration from values in a Study Draft or Library Draft.
For now, we'll create a Project in which we'll keep Standard Library Drafts. First go to the Project List for the URL:
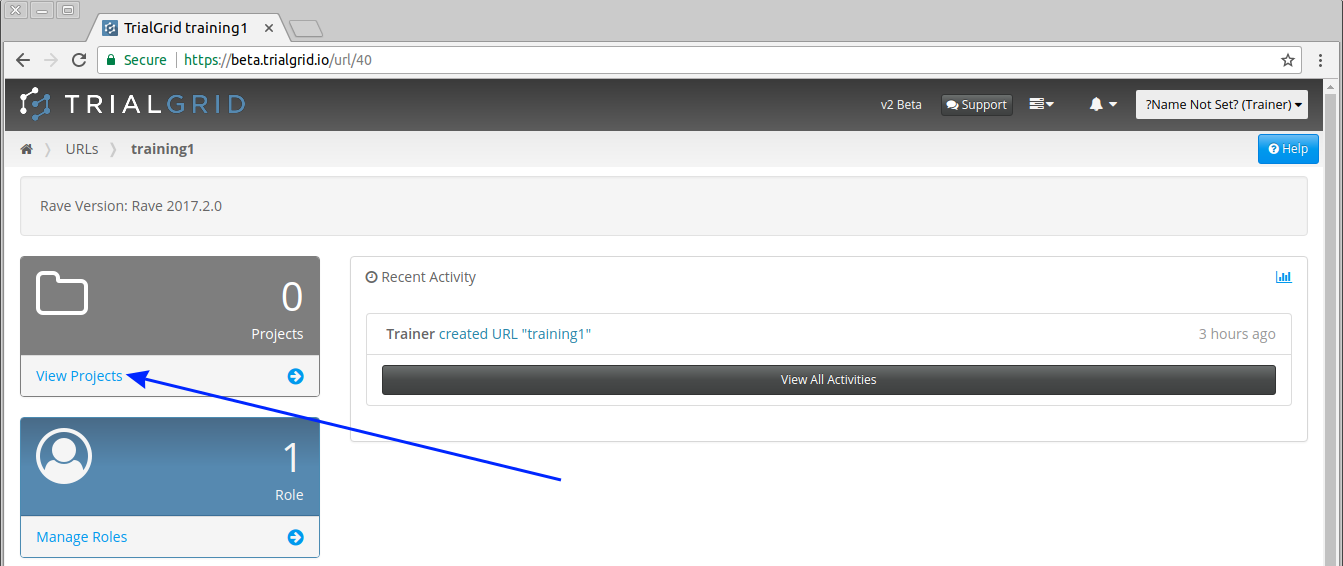
There are currently no Projects. Click the  button.
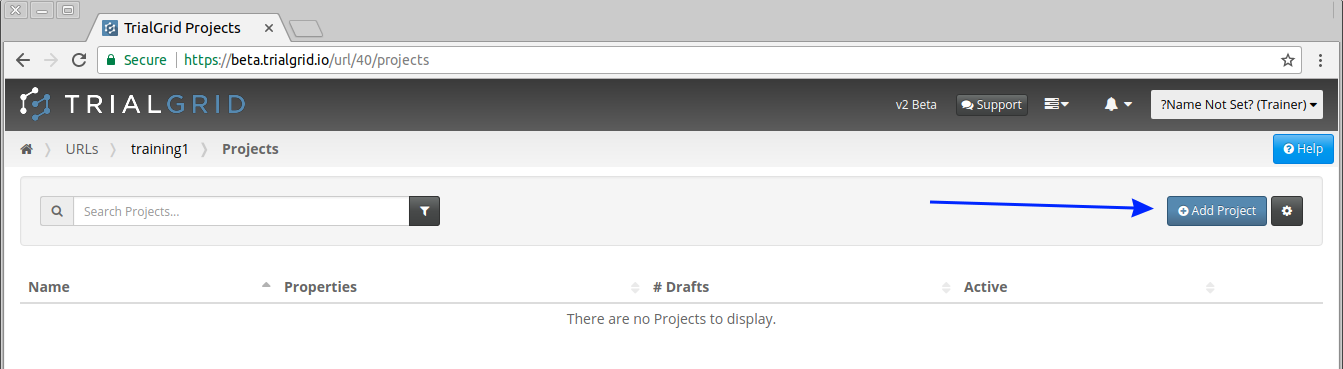
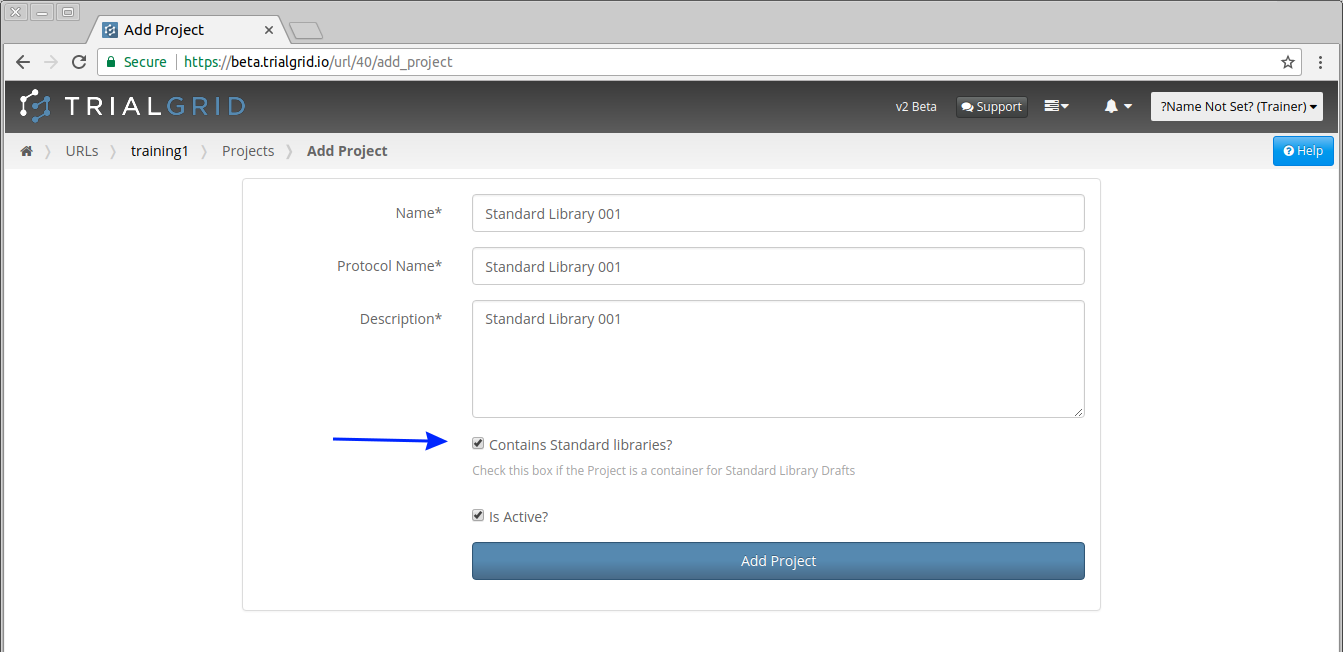
In the Add Project page enter the name of your Standard Library. The Protocol Name and Description don't matter for Standard Library Projects but these fields are required. Just copy the name of the Standard Library Project to these fields also. Ensure the "Contains Standard Libraries?" and "Is Active?" checkboxes are both checked.
Important
Be sure to check the "Contains Standard Libraries?" checkbox. Unless this box is checked the Drafts you upload or create in this Project cannot be used as Standard Libraries.
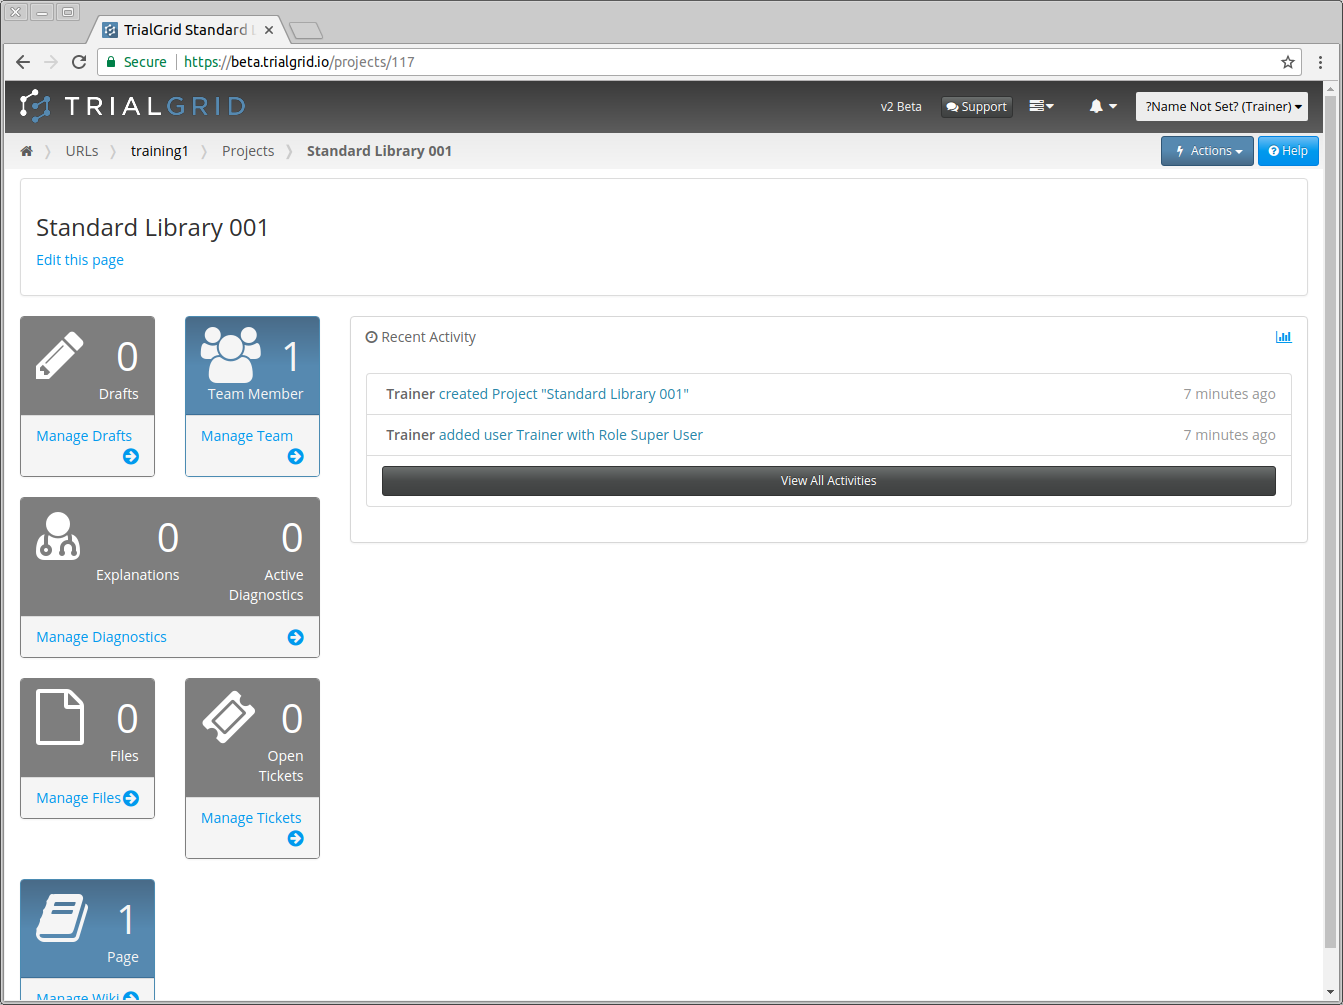
Click the  button to create the new Project and open the home page for the Project.
Note
When creating a Project you can optionally assign a user to a Project Role directly from the Add Project page. To begin working in the Project straight away, assign yourself a Role that has the permissions you need — here we assign ourselves the "Super User" Role created earlier. If you assign no user, the Project will only be accessible to URL Managers and System Administrators (and, if "All URL users can view" is set, to all URL users as read-only) until Roles are assigned from the Project Team page.
Similar to the URL home page, the Project home page has a number of cards which provide access to Project: